
This new V7 feature will allow you to control the number of items on a group check.
This Feature requires the purchase of the Check Writing Module. For information about purchasing this feature or any feature, please contact the Sales Department.
1. From the “Main Menu” and select “Definitions”.
2. Select “Codes” and “Court/Payee”.
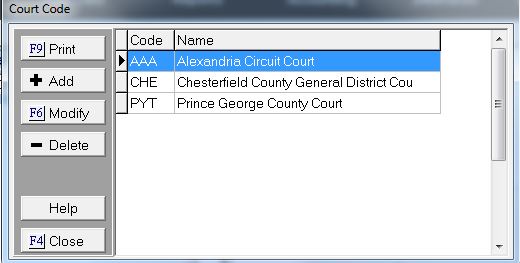
3. Select the  button.
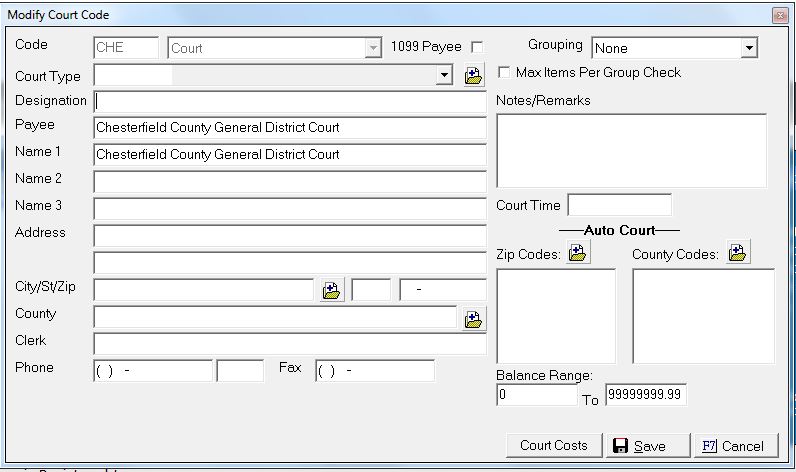
The new feature gives you the ability to select how many cost checks are grouped on one Group Check. If the maximum numbers of checks are reached a new Group Check will be created.
If you find that you want to turn this feature off at any time. Go to System>System Options>Data Options place a check in the box for “Ignore Max Check Group Items”.

1. Select a “Grouping” option using the drop-down.
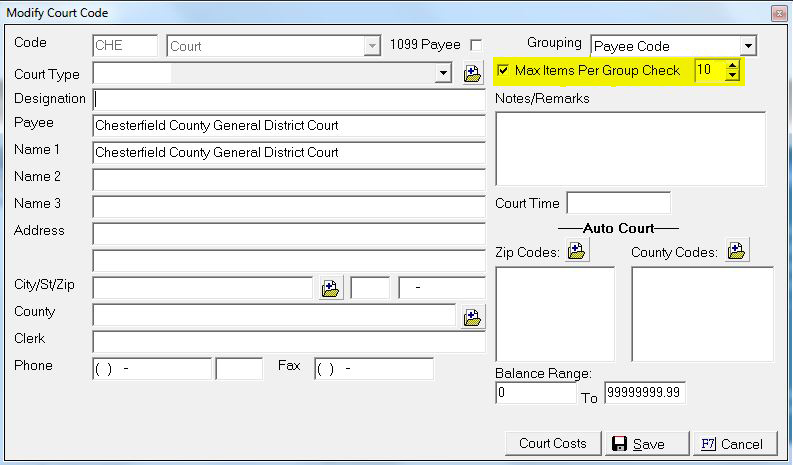
2. Select the checkbox for “Max Items Per Group Check” and use the up/down arrows to select your maximum number.
3. Click the  button.
4. It will return you to the “Court Code” menu.
5. Select the  and it will return you to the “Main Menu”.
6. Then select the  button.
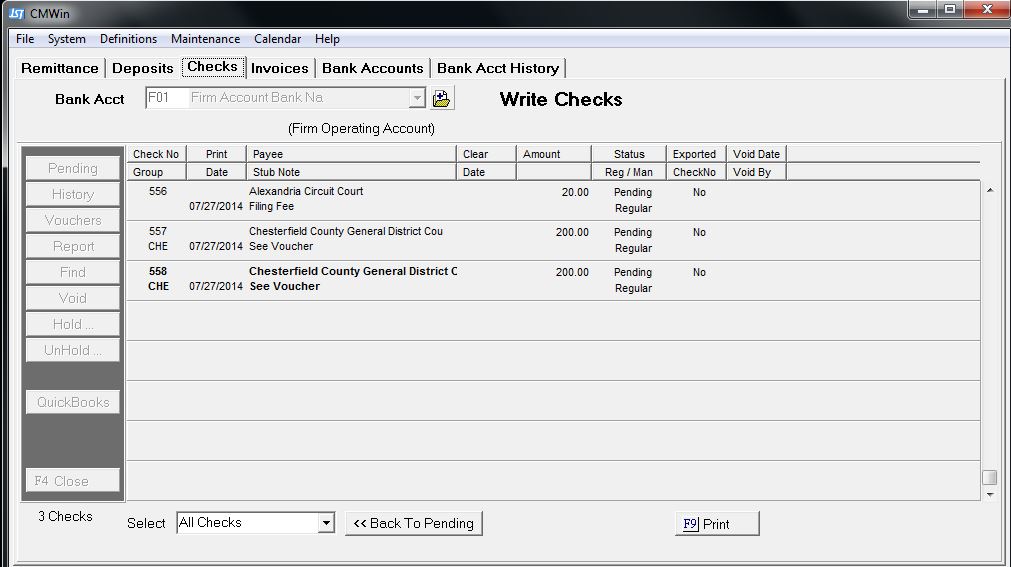
7. Select the  tab and align yourself to the appropriate “Bank Account”.
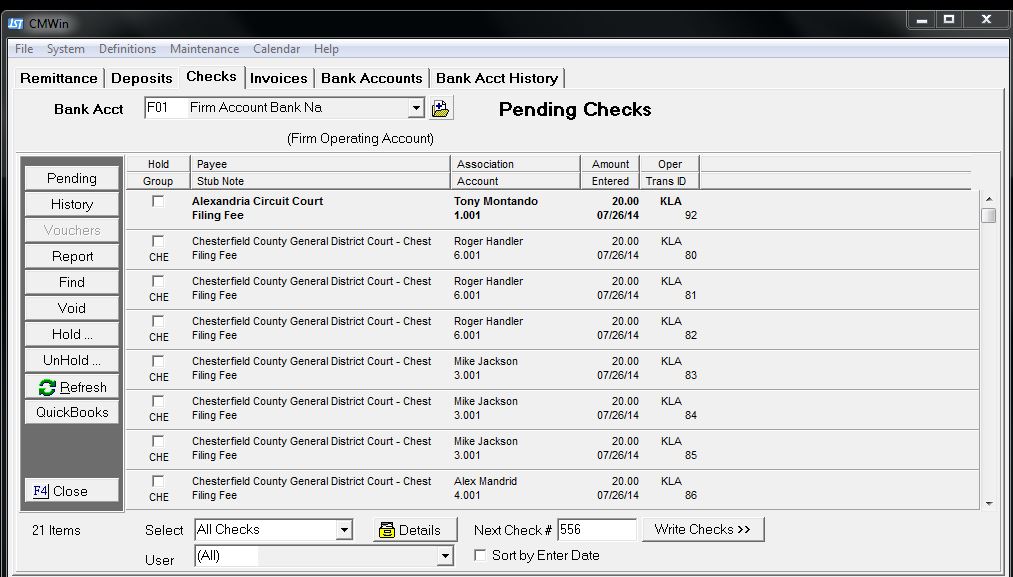
8. Select the “Checks” that you want to print and any additional filters before selecting the  button.
9. The following pop-up will appear:
10. Click the  button. Then the following screen will be visible: In this example 10 checks are included in each group check.
11. Select the  button and send “To Screen”.
12. The “Preview” of the checks will pull up for your review, after reviewing click the  button to print your checks out.
13. Click the  after the checks print out. A pop-up message will pull up next:

14. Click the button and it will pull up a pop-up message:
15. Click the button and it will return you to the “Pending” check screen.
16. To print the Vouchers click on the  button on the left, then select“Print To Screen”.
17. The “Vouchers” will pull up and you can print them using the button.
18. Click the after the vouchers print out. A pop-up message will pull up next:
19. Click the button and it will return you to the “Pending” check screen.
20. Click the button and it will return you to the “Main Menu”.
Things to Remember:
If the “Vouchers” button is not highlighted, it means that you do not have any pending “Vouchers”.
If you are using the Bank Reconciliation option in CollectMax, the “Vouchers” must be printed in order for the checks to appear on the Reconciliation Grid.
If you prefer not to print the “Vouchers” for use, you can print to file and then delete the file. It will help you save on paper.